Panel Frame Shed
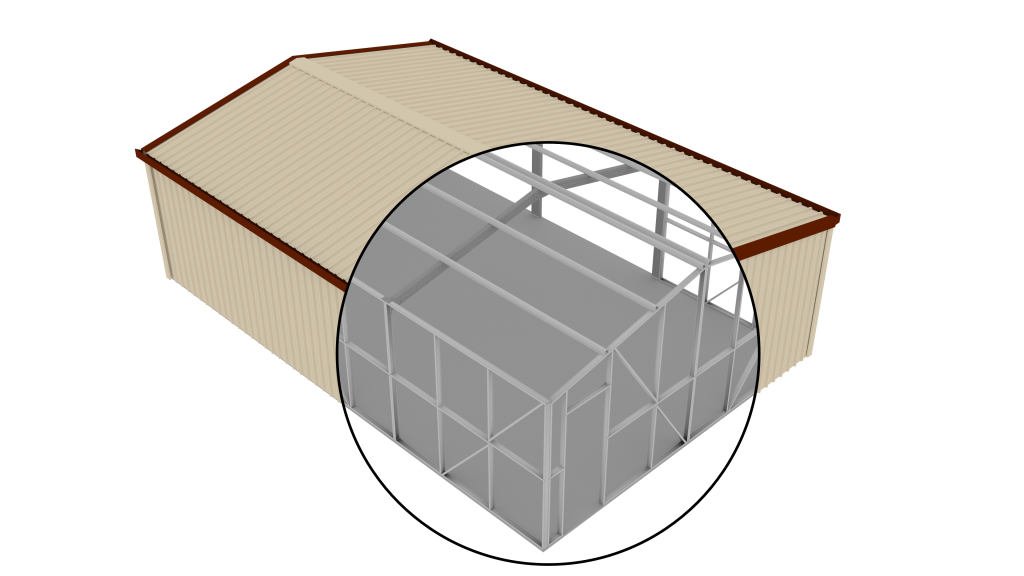
The panel frame shed is the simplest and easiest to construct and has many benefits over traditional portal frame designs. The Mecano Steel Stud Framing System simplifies the construction process. As with all Mecano frames, there is no cutting or drilling required. The frame simply tek screws and bolts together. The kit is supplied with an easy to follow instruction manual.
The Benefits of a Panel Frame Shed
- More internal space
- Simple and Easy to construct
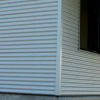
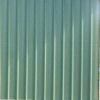
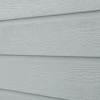
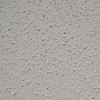
- Allows for wide array of cladding options including:
- Standard Vertical Trimclad/Custom Orb
- Weather Boards
- Blue Board (for render)
- Options to allow for internal lining.
- Options for rafters or trusses, allowing for eaves if required
- Maintenance Free – rust resistant aluminium-zinc coated frames
More Internal Space
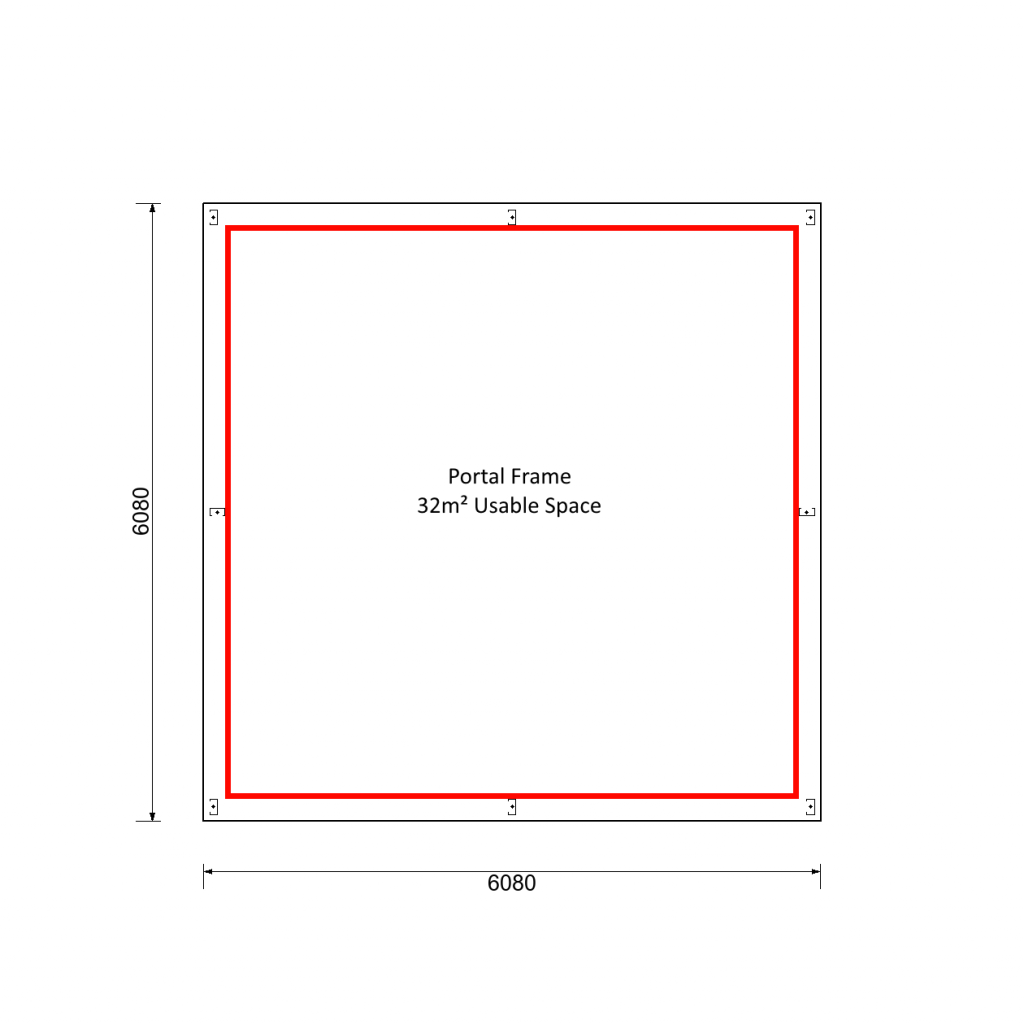
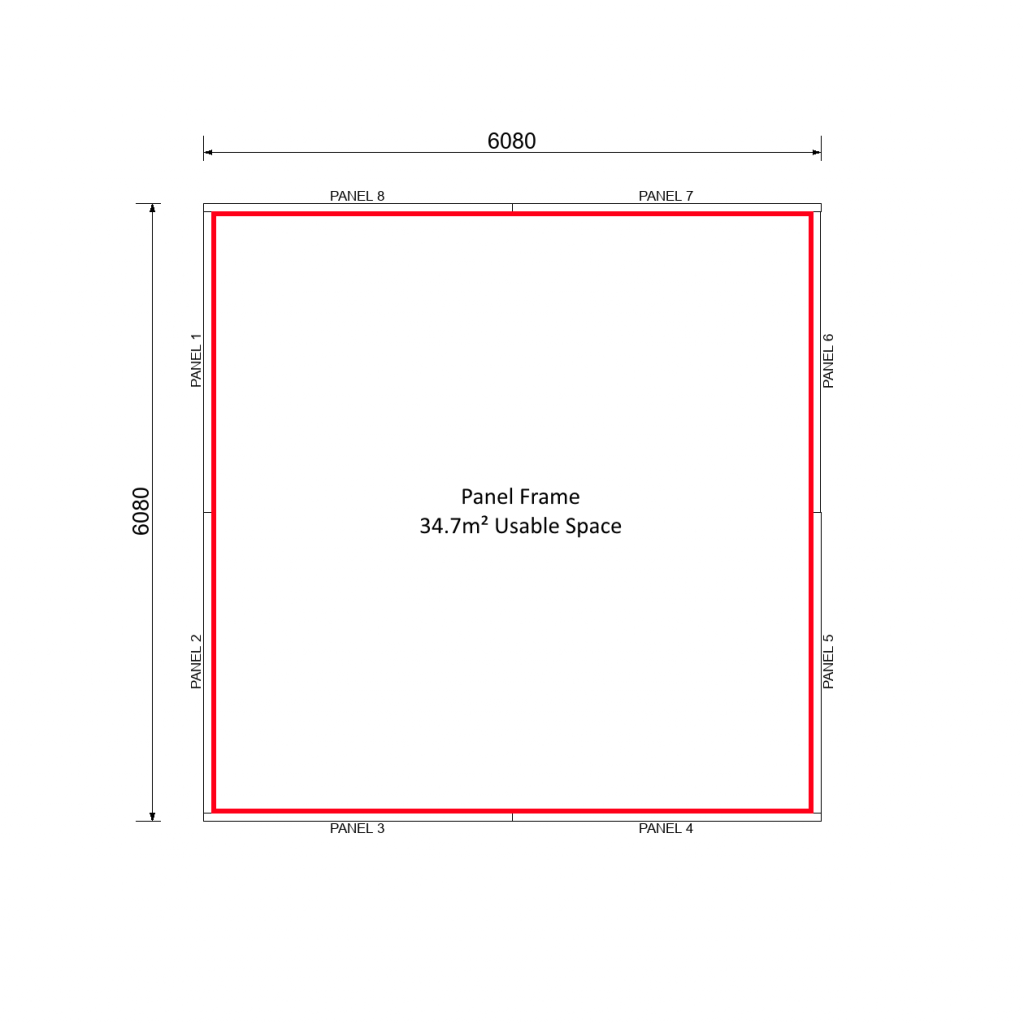
Because the portals and girts are integrated into the frame, a panel frame shed has more usable internal space as there are no protruding columns or end wall mullions.
Compare two identical sized sheds below:
How Easy is it?
1. Wall Panel Assembly
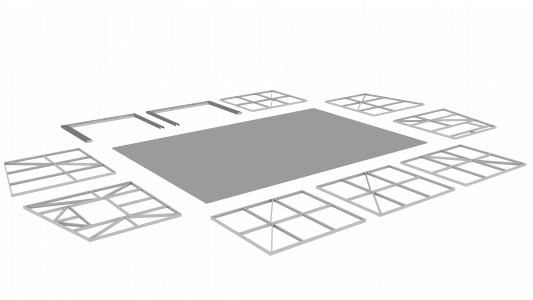
Flat-packed wall panels simply lock together and are tek screwed using the pre-punched dimples. No cutting or drilling is required. Alternatively, walls can arrive on site pre-assembled
2. Stand up Panels
Wall Panels simply tek screw together. Frames are dyna-bolted to the concrete slab.
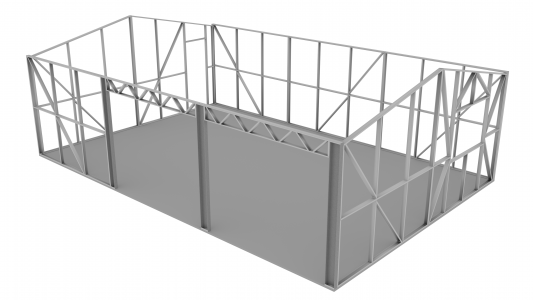
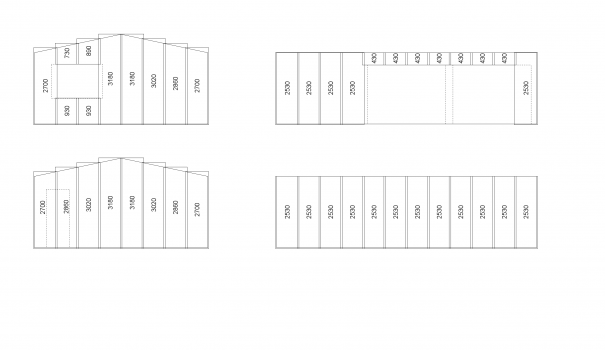
The Instruction manual will include a job specific wall layout detailing the location of the stud panels, head beams, roller door jambs and rafters.
3. Rafters (or trusses)
Rafters simply bolt together and are fixed to the top of the wall panels. Alternatively, Trusses can be used instead, which are easily bolted to the existing wall panels.
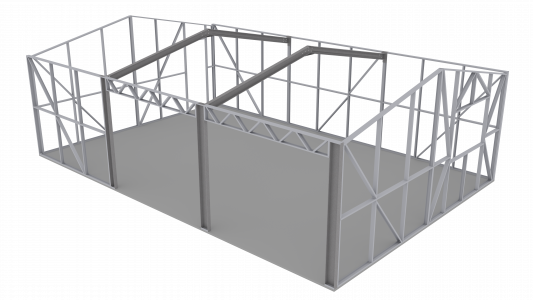
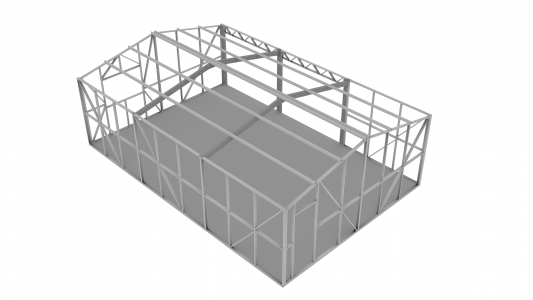
4. Top Hat
Top hat roof battens are fixed to the mid rafters and the end wall panels.
5. Roof and Wall Cladding
Attach cladding to manufacturers specifications.
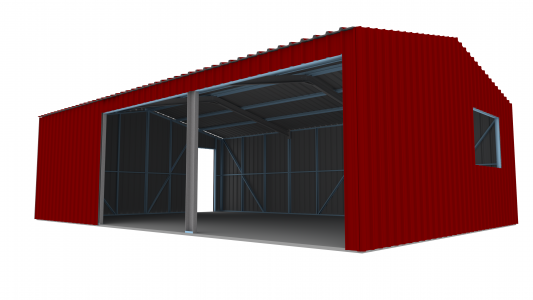
The instruction manual details the position and length of all wall cladding.
6. Flashings, Gutters and Trim
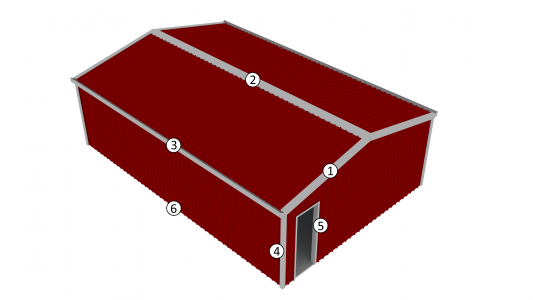
Included With the Kit:
- Gable End Barge Caps
- Ridge Cap
- Gutters
- Corner Flashings
- Roller, Pa Door and Window Flashings
- Optional: Vermin Flashing
Please Note: corner flashing, ridge cap and door flashings are shown in grey for illustration purposes only.
7. Roller Doors, Personal Access doors and Windows.
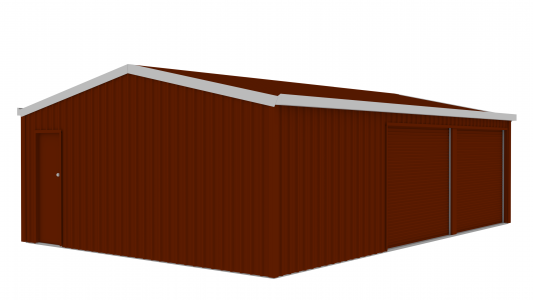
Roller doors are simply bolted to the back of the C-sections mullions. Pa door and window openings are pre-programmed into the precise stud panel frames.
Cladding Options
